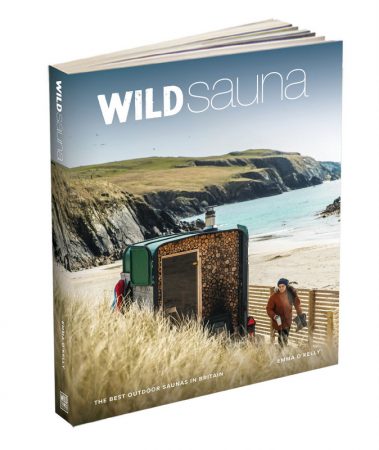
Inspired by the wisdom and words of Emma O’Kelly, author of Wild Sauna, The Best Outdoor Saunas in Britain, this guide will walk you step-by-step through building or converting your own sauna sanctuary.
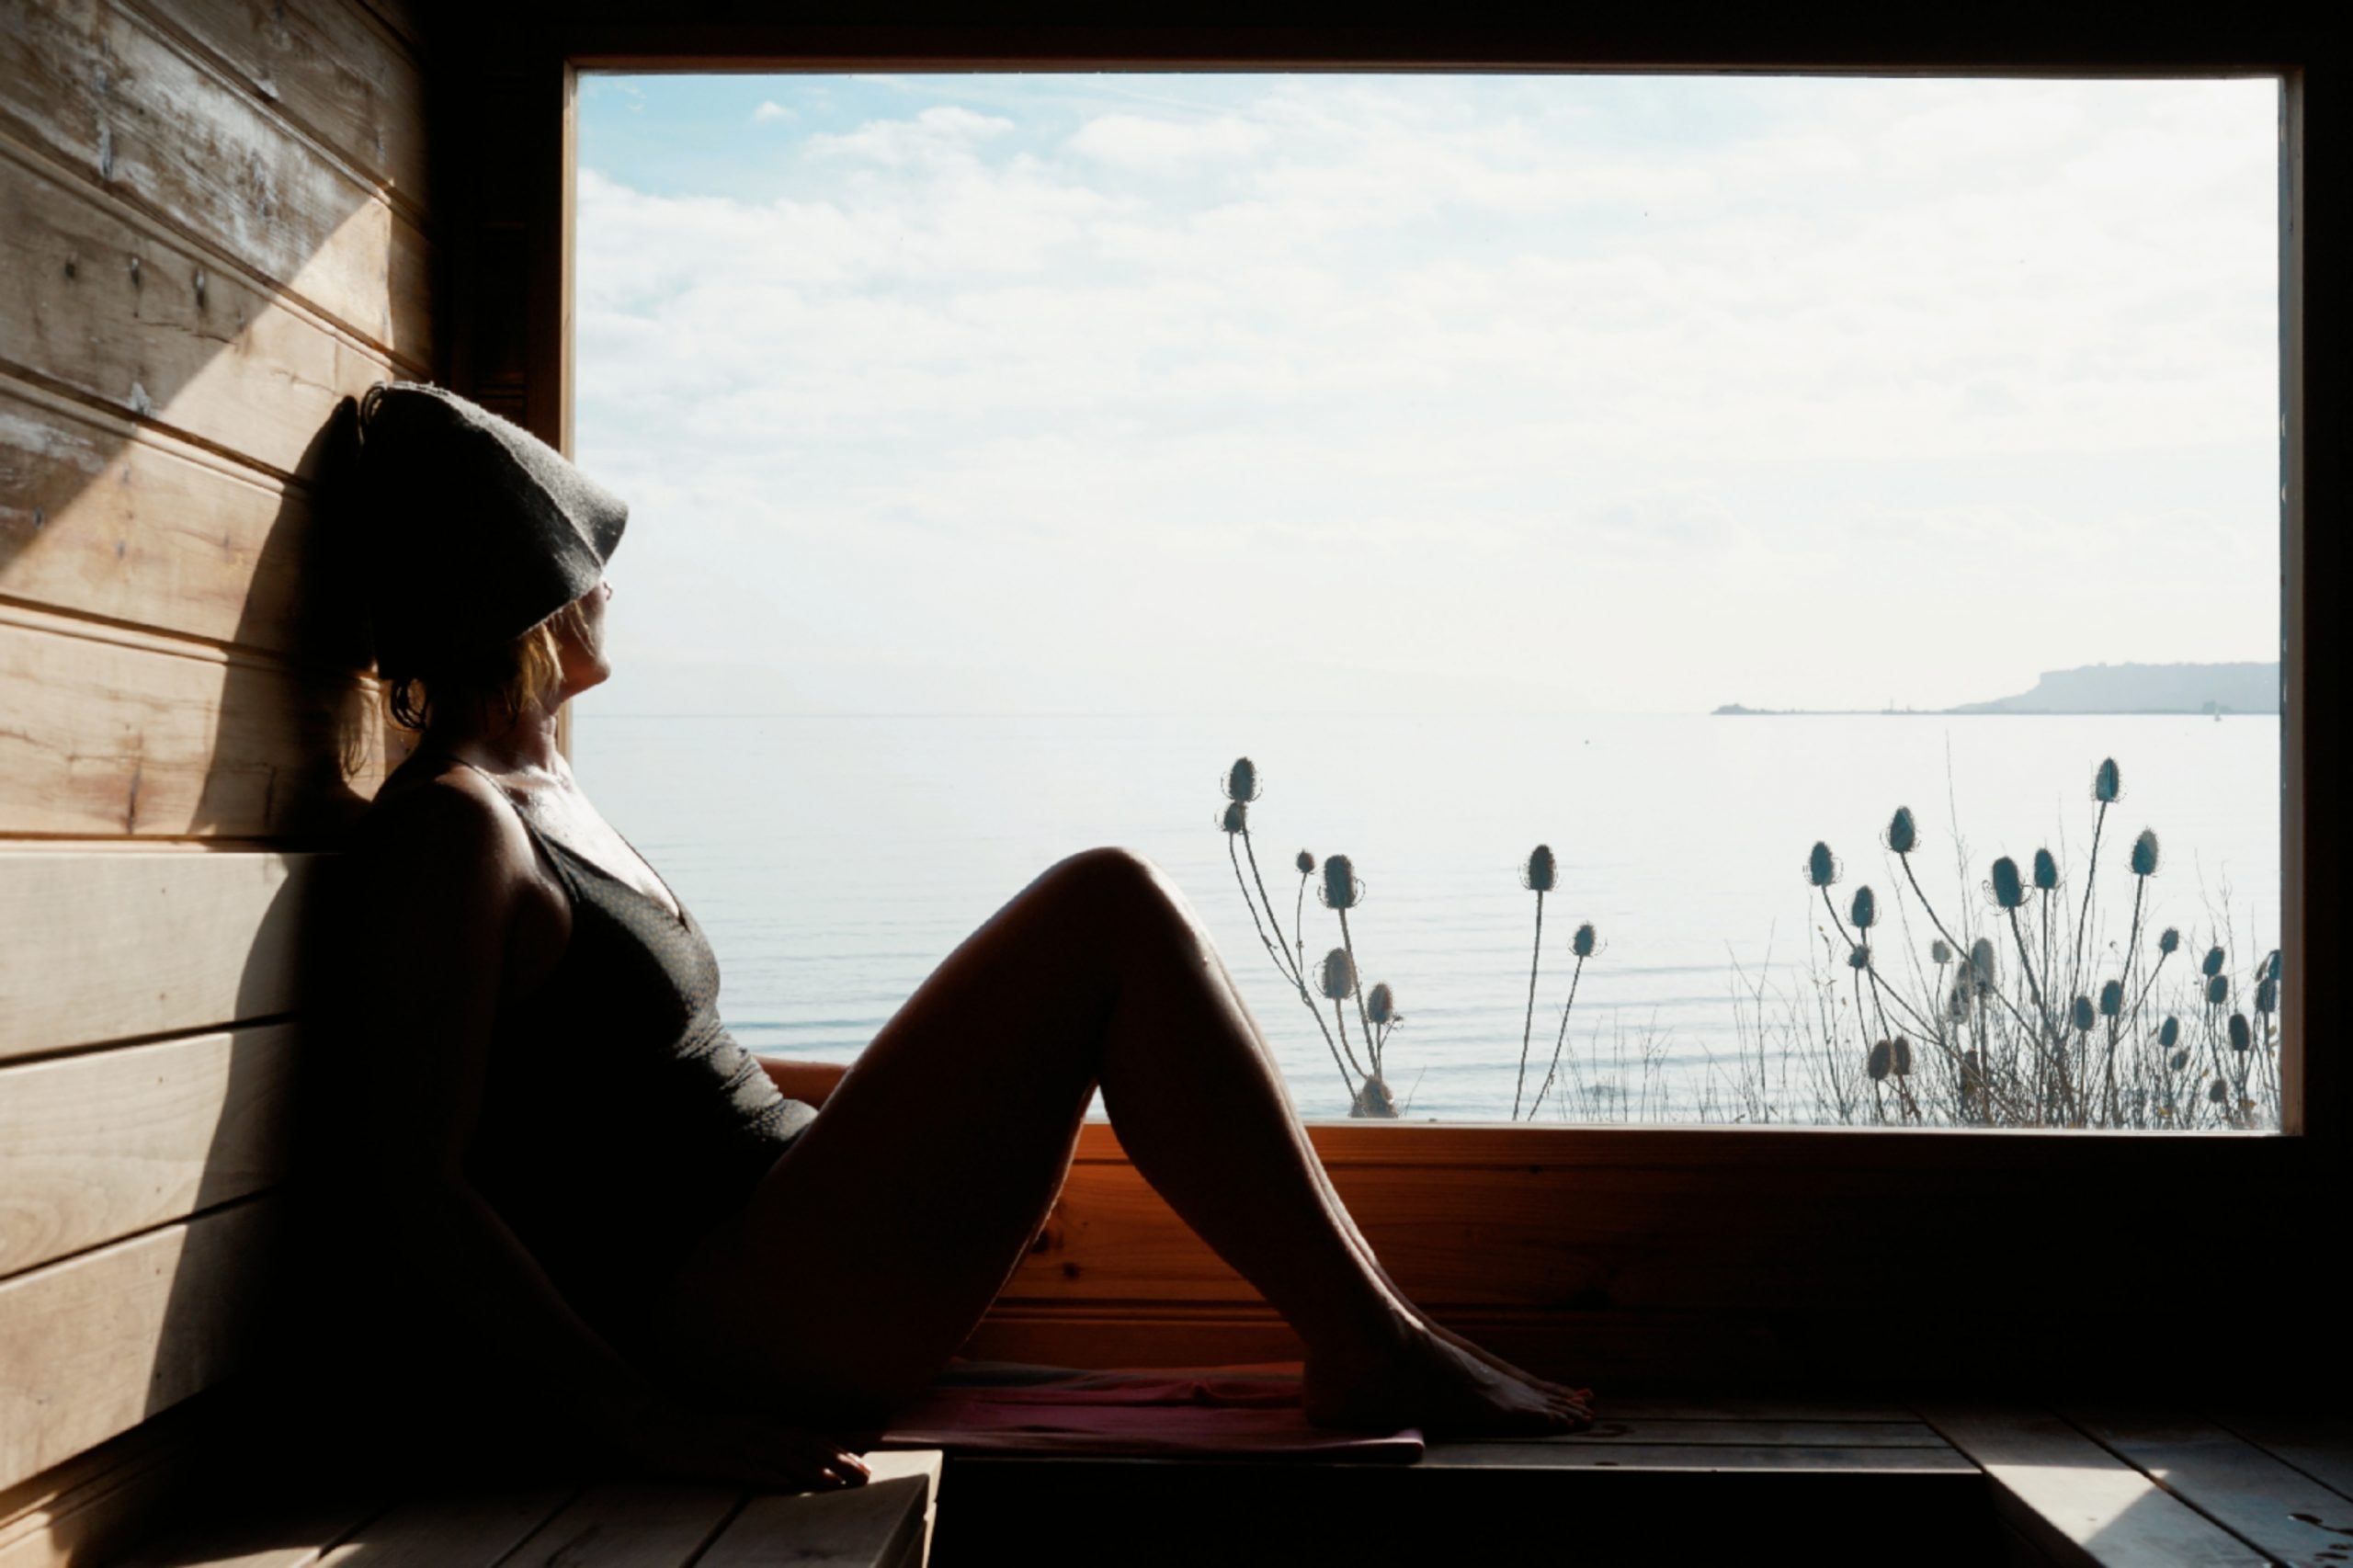
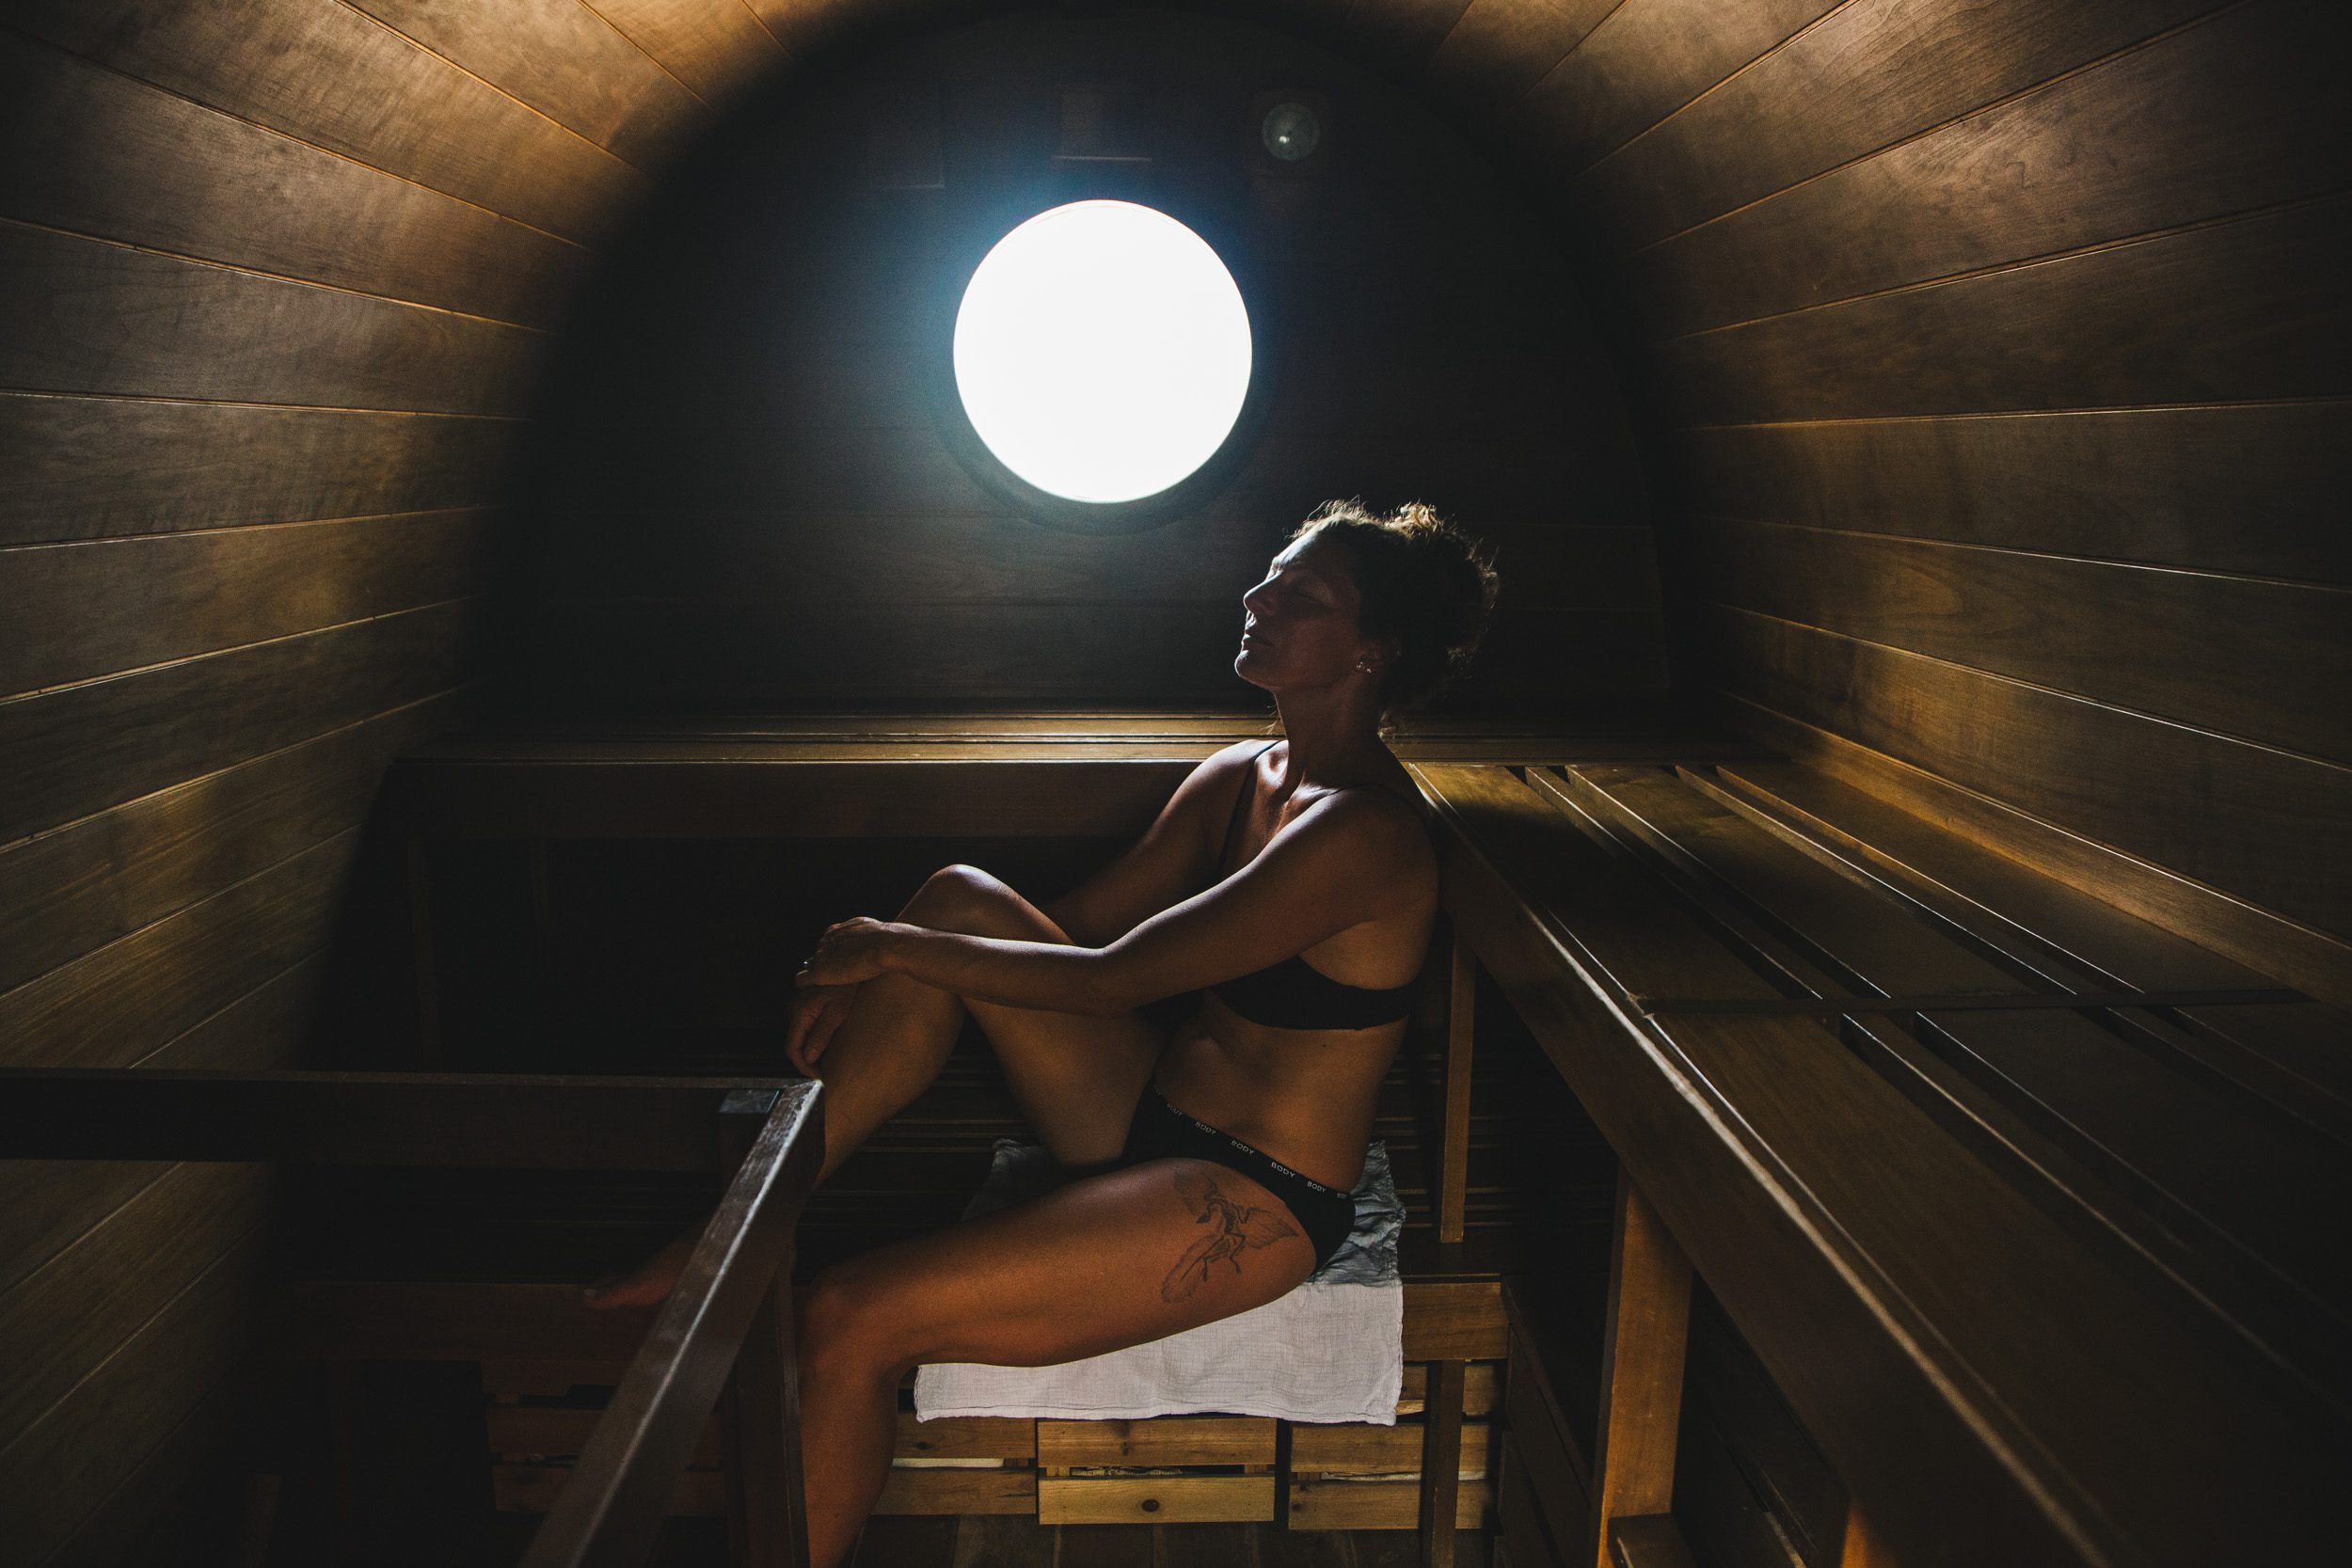
In a world that never stops, the sauna offers a rare sanctuary – a place where the pace slows, the mind eases and the body remembers what it means to relax. Stepping into the warmth, bathers often report an immediate lift in spirit, a sigh of relief and a surprising sense of connection. Here, strangers become friends, conversations flow easily and a quiet peace settles. This is food for the soul.
Saunas have long been a cherished tradition across Europe, and now they’ve found their place in the UK; from gyms and spas to lakesides, riverbanks and windswept coastal spots. But imagine having your own private sauna, right in your garden or outdoor space – a personal retreat whenever you need it.
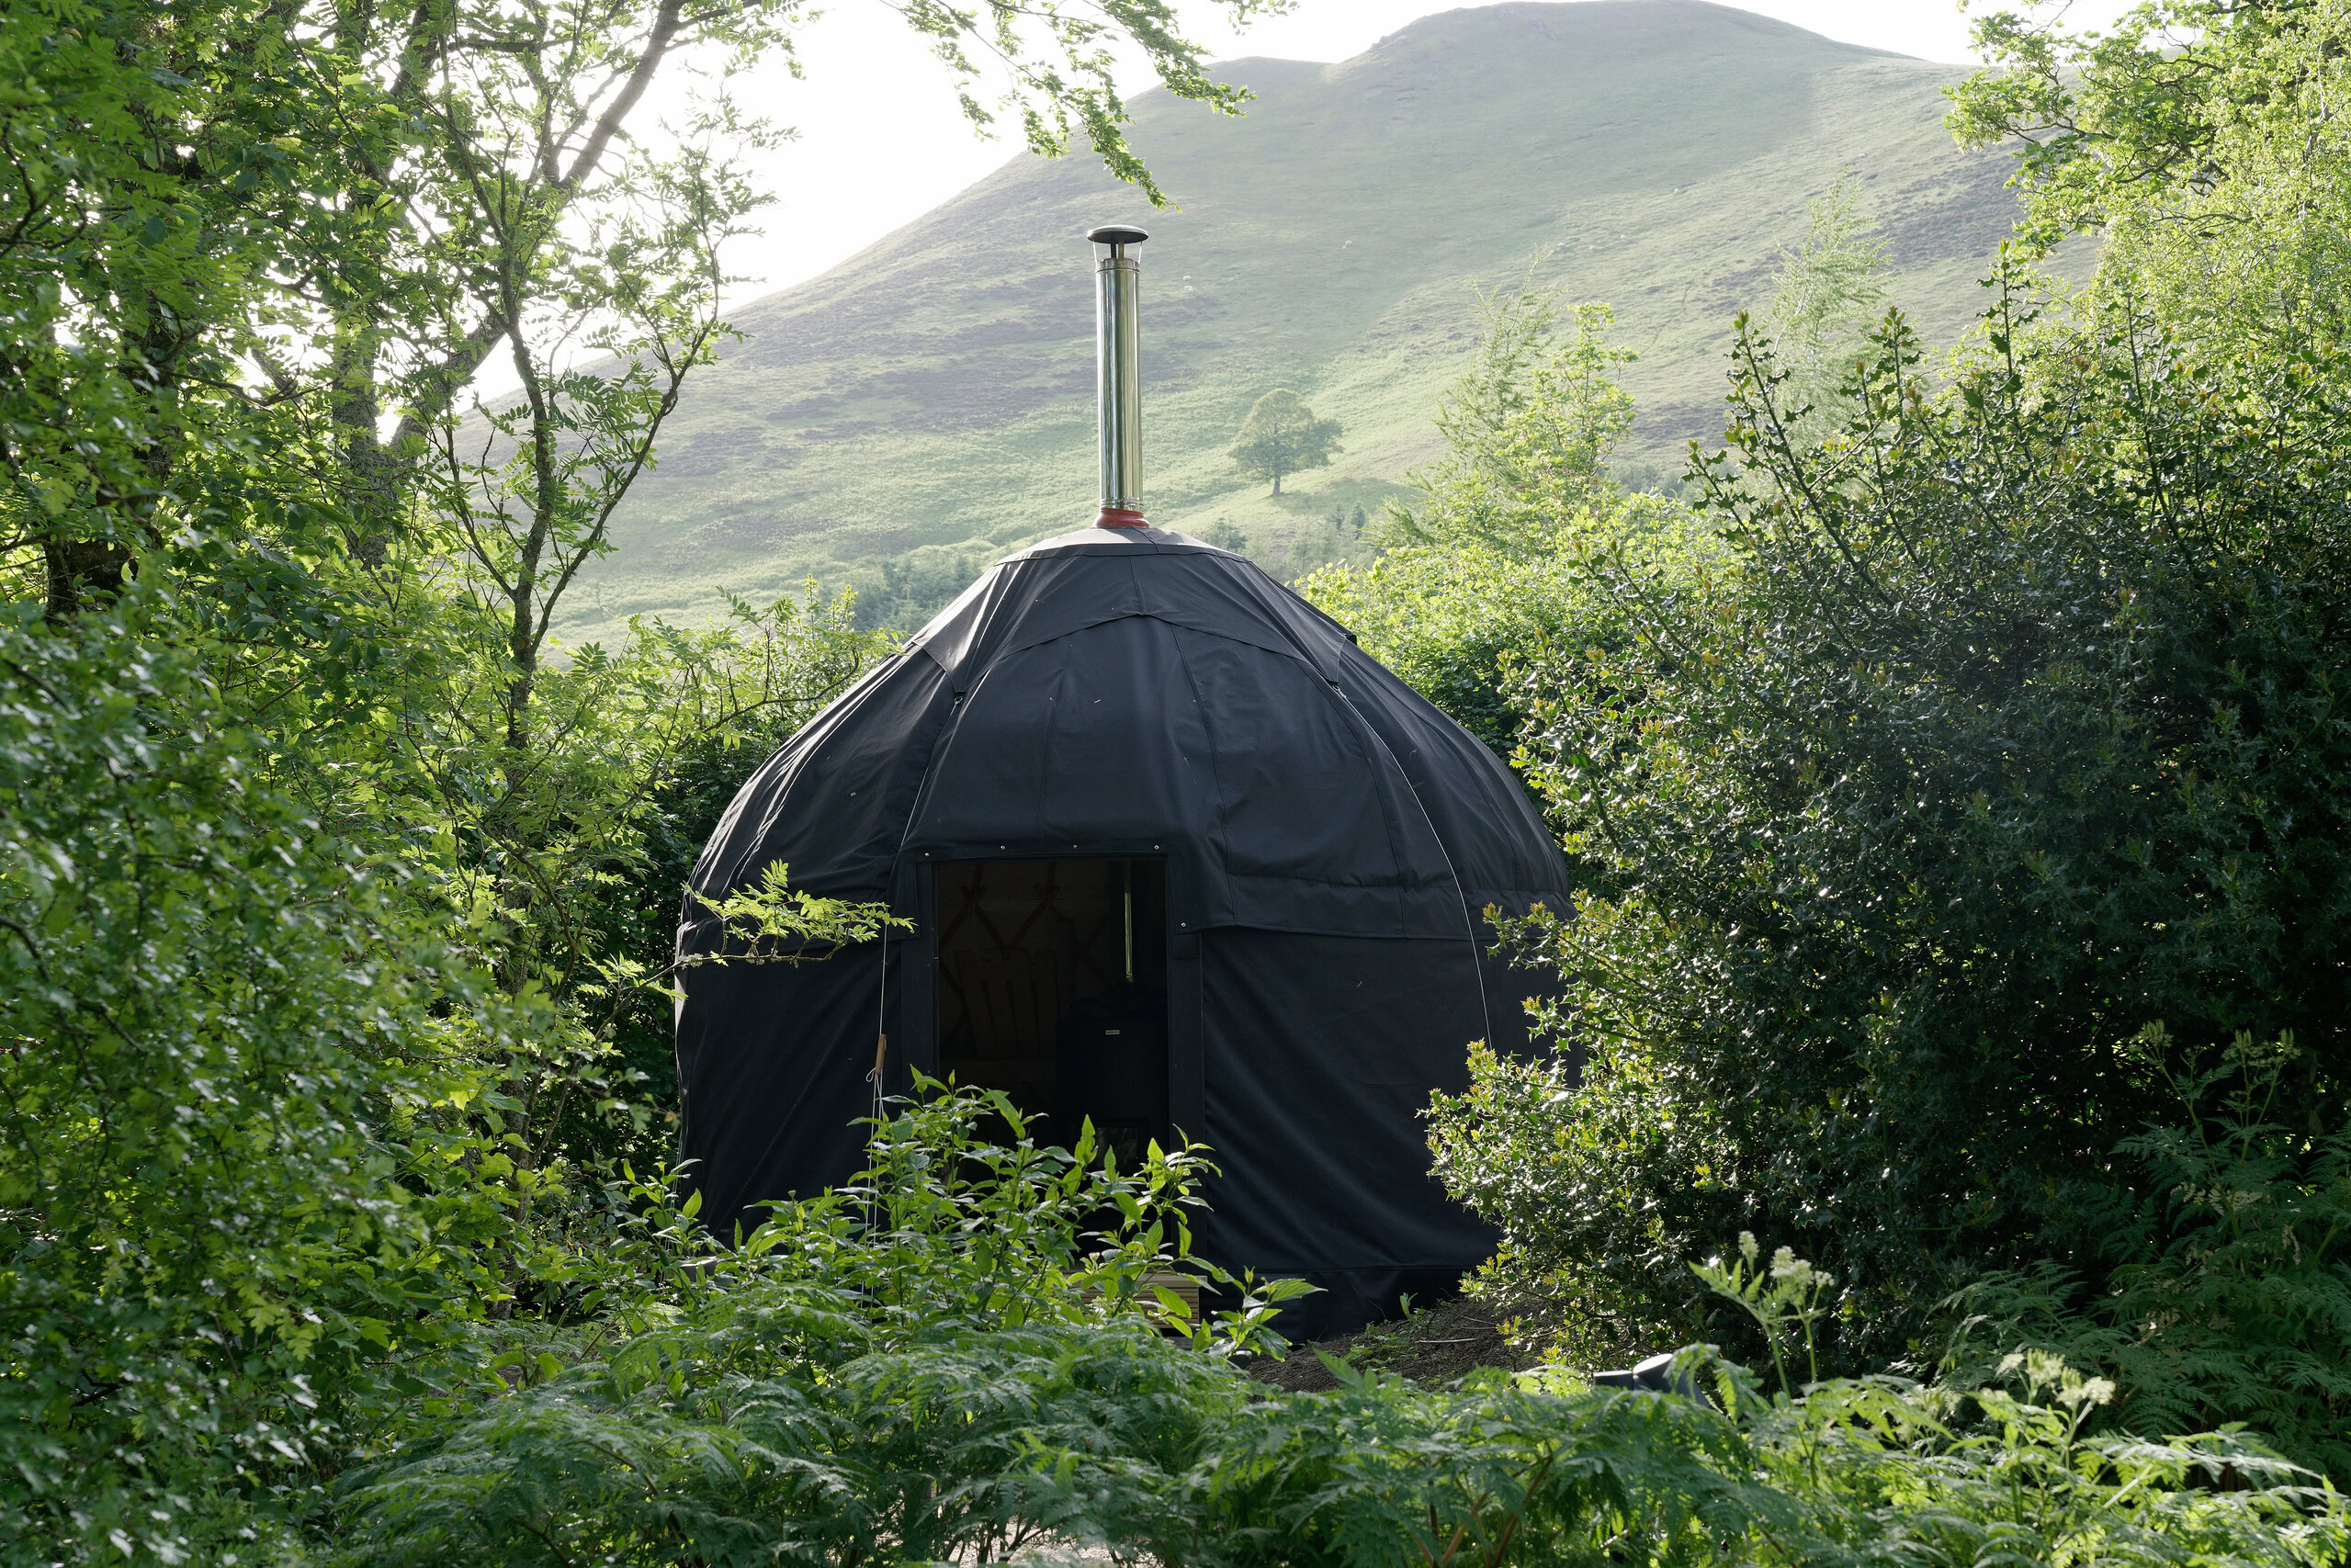
Building your own sauna can be a deeply rewarding project, combining the satisfaction of DIY with the restorative benefits of regular sauna use. Inspired by the wild sauna movement, which transforms everything from horseboxes to trailers and sheds into unique saunas, there are countless ways to create a space tailored to your style, materials, and available space.
How to build your own outdoor sauna
1. Choose Your Sauna Type
Almost anything can be turned into a sauna, but the design and materials you choose will affect the experience and longevity. Popular options include:
-
Barrel saunas: Affordable, simple to assemble, often imported from Lithuania or Latvia. Some feature a small ante-room acting as a thermal gate or shelter.
-
Sweat lodges: Dome-shaped structures made from bendy saplings or tent poles, covered with rugs or blankets. Use heat-safe rocks for steam, avoiding river stones that can explode.
-
Converted sheds or shacks: A common DIY approach, allowing you to create a sauna with a changing room and seating for multiple people.
You can also incorporate aesthetic touches like Shou Sugi Ban, a Japanese technique of charring wood, to protect the exterior and give your sauna a unique look.
2. Plan Your Sauna Space
Start by measuring your available space and deciding how to divide it. A typical small sauna can fit three to four people and may include a separate changing area. Consulting experts or guides can help you source materials and optimise your design.
3. Choose Exterior Materials
Softwoods like larch or cedar are popular for exteriors because they are durable and weather-resistant. Select high-quality timber to ensure your sauna lasts for decades.
4. Install Insulation and a Vapour Barrier
Insulation is key to heat efficiency and safety:
-
Use aluminium-backed insulation boards and cut them to size.
-
Pack them carefully between structural studs.
-
Seal joints, corners, and door frames with aluminium foil tape to prevent heat loss and moisture damage.
5. Add Ventilation
Proper airflow is essential:
-
Cut a couple of 12.5cm ventilation holes through the structure.
-
Duct and seal the holes with aluminium tape.
-
Add wooden covers for an attractive finish.
6. Install Interior Cladding
Once the insulation and vapour barrier are in place, add interior cladding. Hardwood panelling not only looks great but withstands heat and moisture effectively.
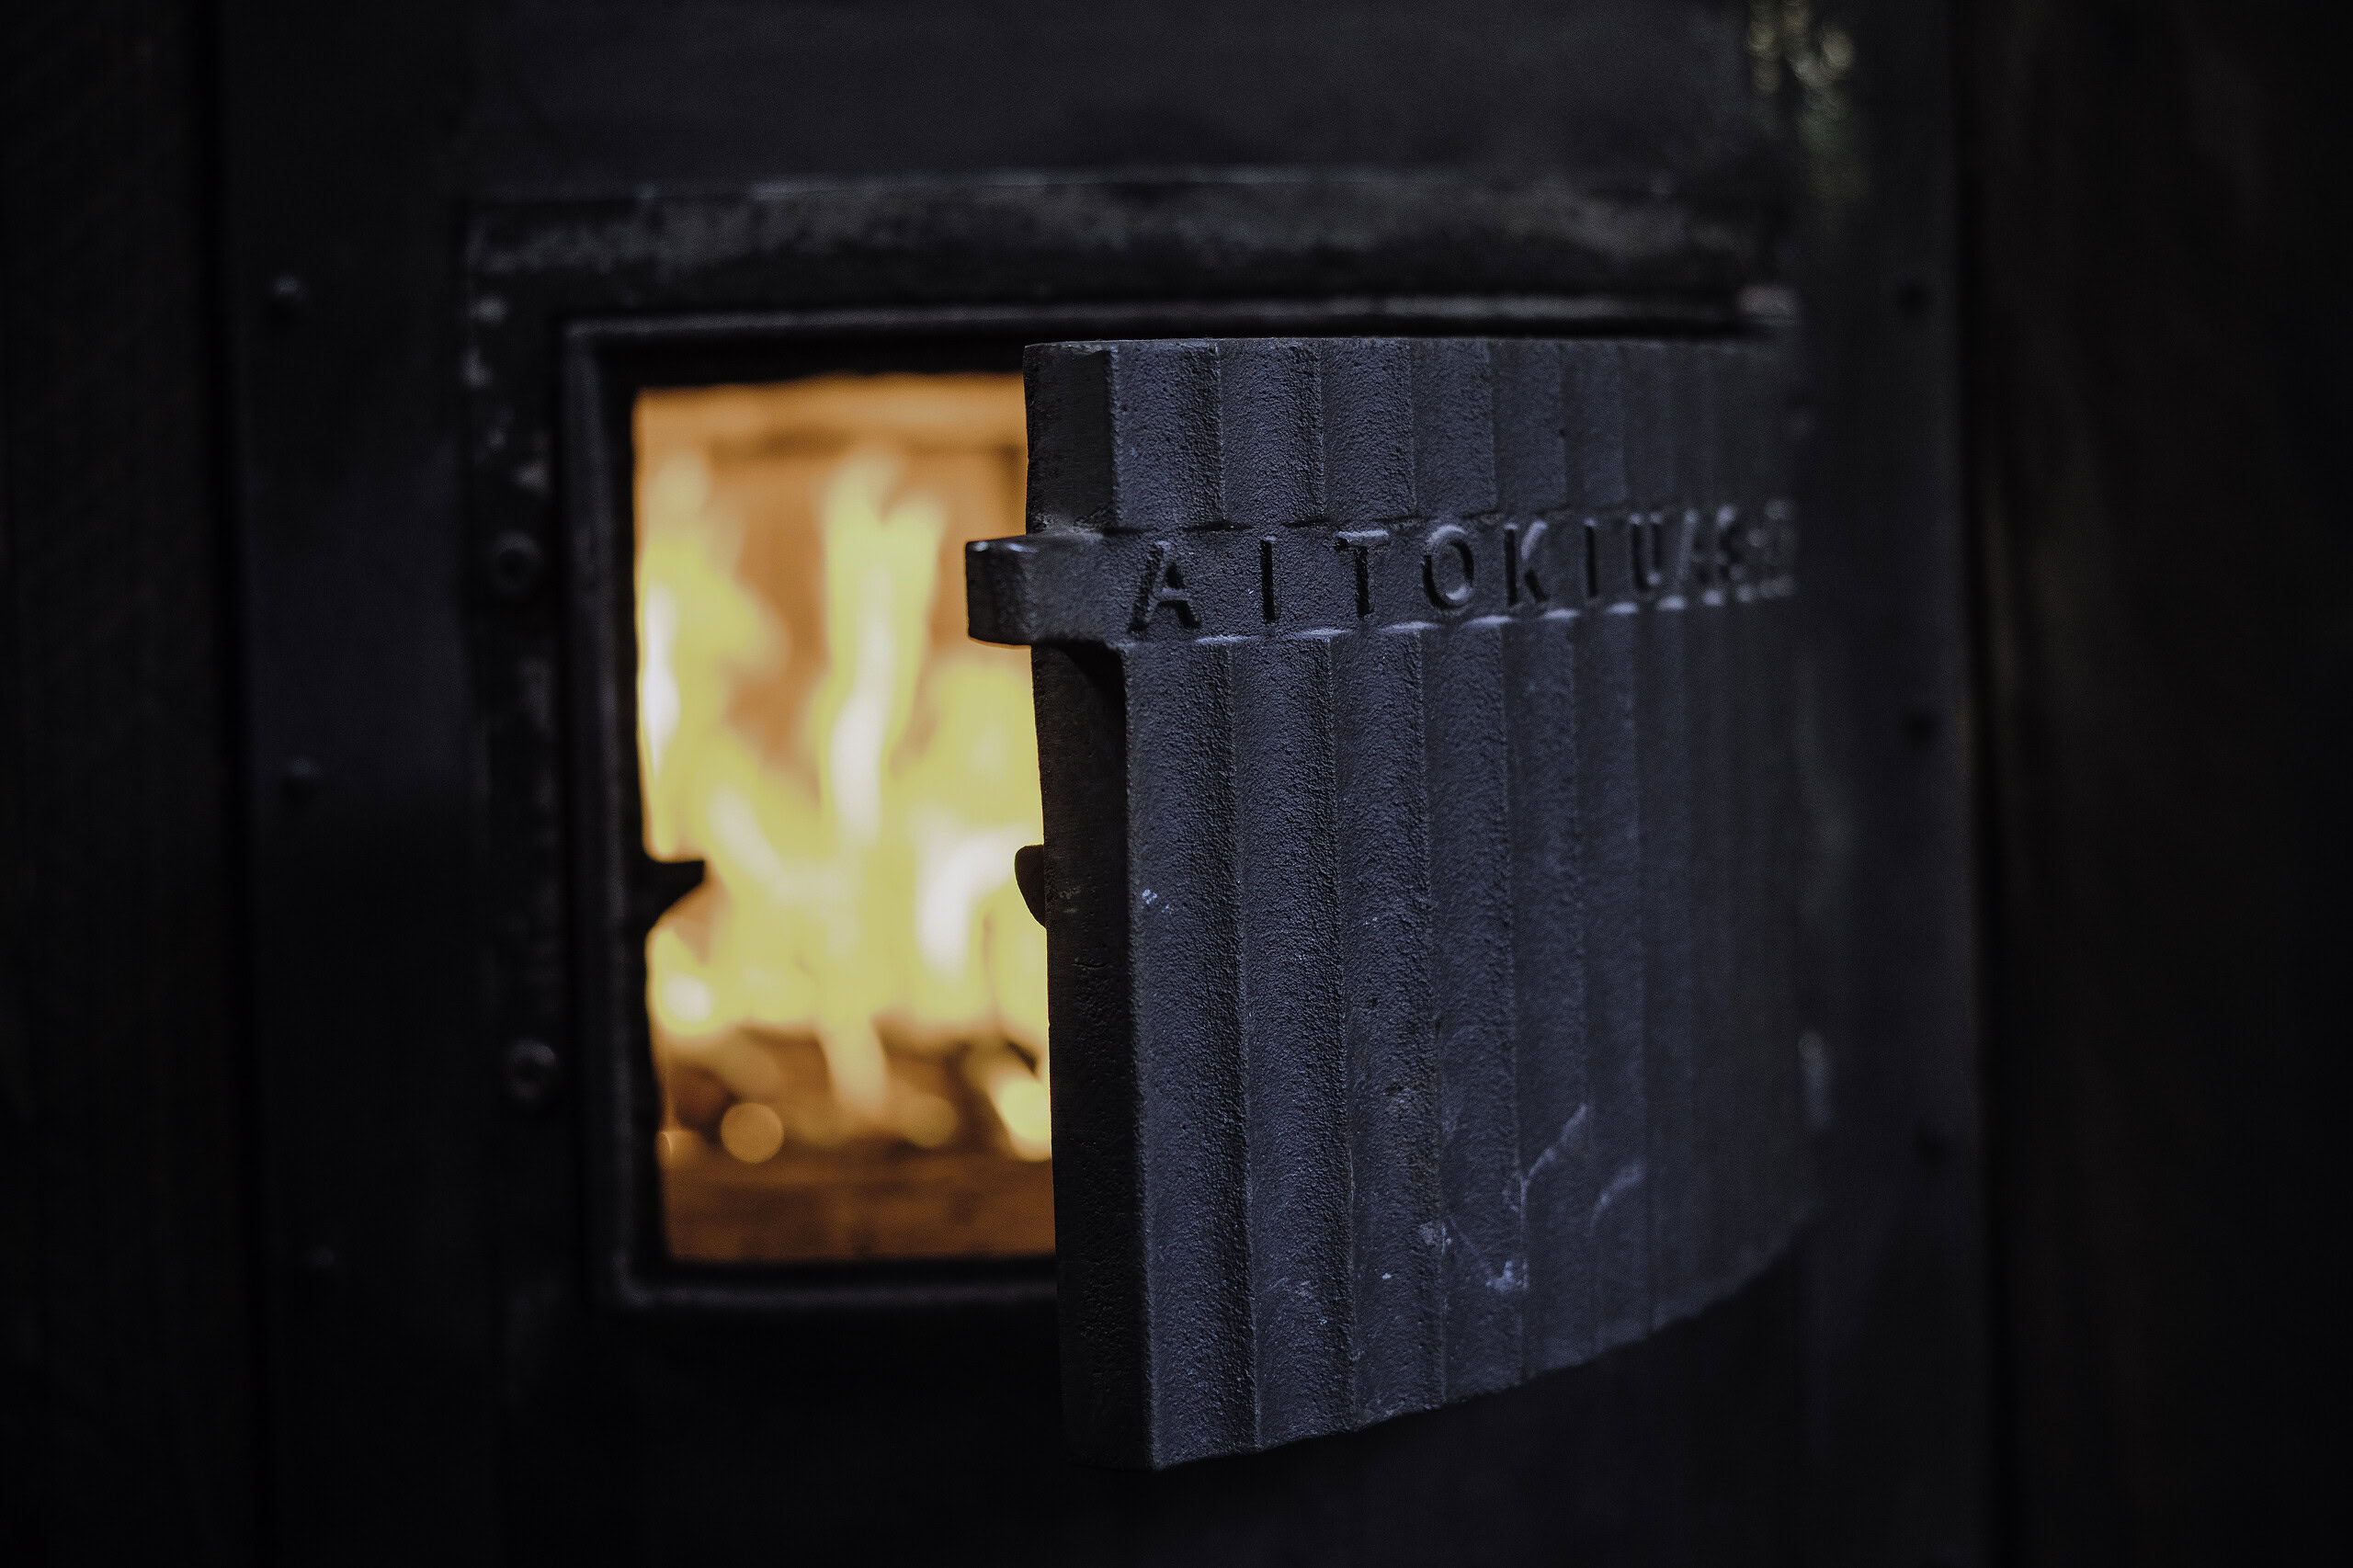
7. Select and Install Your Stove
-
Choose between wood-burning or electric sauna stoves. Popular brands include IKI, Harvia, Huum, and Narvi.
-
Wood-burning stoves may require cutting a small hole in the roof for the flue.
-
Stack sauna stones carefully so steam (löyly) passes evenly.
8. Build Benches and Interior Wood Features
-
Use hardwoods like alder or aspen for benches and wall panelling. Cedar is also a great choice for its aroma.
-
Position top benches so bathers’ feet are level with or above the top of the stove for optimal heat distribution.
-
Ensure proper drainage for water and steam.
9. Safety and Lighting
-
Install a safety rail around the heater to prevent burns.
-
Simple LED lighting kits are perfect for creating a cosy atmosphere without overheating.
10. Enjoy Your Sauna
Building a sauna is a labour of love. For example, converting a small shed into a three-person sauna took approximately 100 hours in one project. With careful planning, the right materials and attention to detail, you’ll have a personal sauna that’s warm, safe and ready for relaxation.
Final Tips
-
Start small if it’s your first sauna project.
-
Always use heat-safe materials.
-
Take your time – proper construction ensures your sauna lasts for decades.
Sharing the best outdoor saunas in Britain,
Wild Sauna is out now